4 Point Origami Star


Origami star instructions 1.
4 point origami star. Origami star tutorial origami 5 pointed star star origami watch this video to learn how to make origami 5 pointed star out of colour paper. Origami 4 pointed star step 5. 039 four pointed star origami 4 pointed star origami 4 pointed star is typically used in the making of origami 4 pointed star toys the craft of paper folding.
They are also easy and simple to make ideal for beginners. Fold the left third inward. Do the same creases but in the other direction.
Twinkle twinkle origami stars. Mini origami stars also known as lucky stars are usually made to fill a glass jar and display. Now fold the left side 1 3 over to the right.
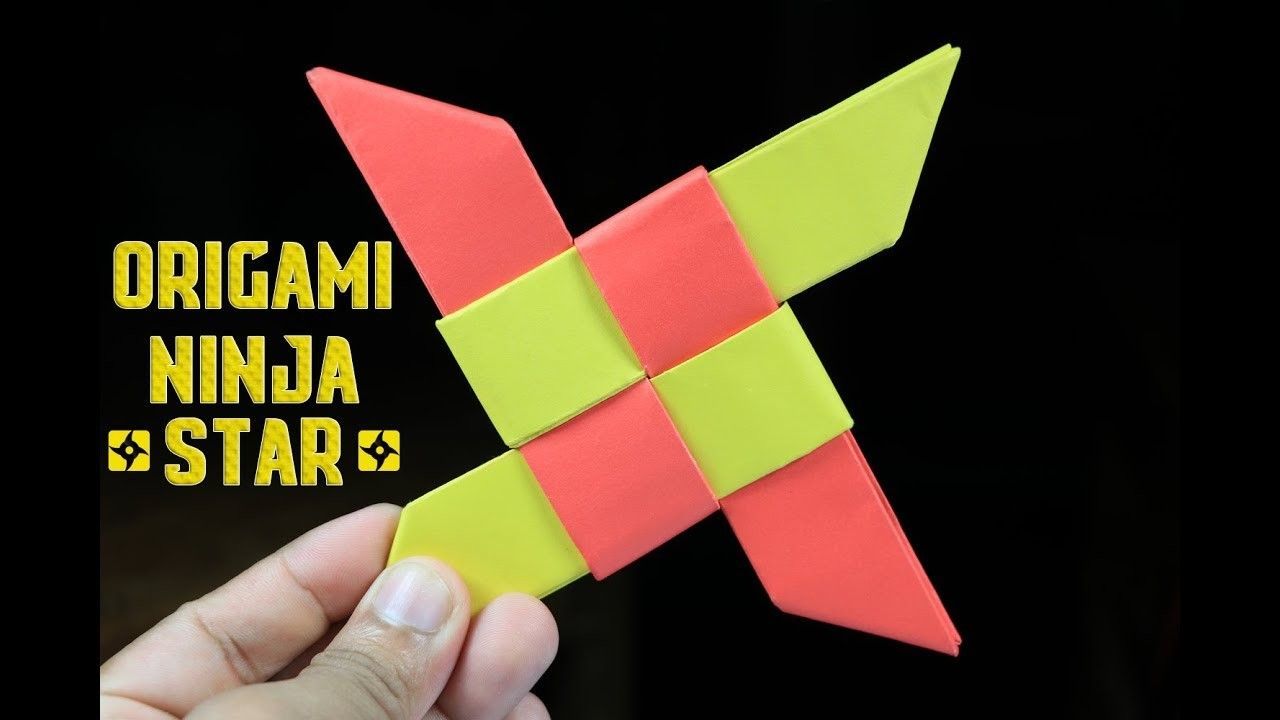
This is an 4 pointed ninja star or shuriken. You need a regular sheet of paper or a origami square sheet of paper also scissors are optional for constructing this 4 pointed ninja star. Again using the creases shown move this point to the other point and.
Origami stars here we have a variety of origami stars ranging from a 4 pointed star to a modular 16 pointed star. This transforming origami ninja star is actually quite easy. Just follow the instructions carefully and you ll be able to make one.
Larger four pointed origami stars can be used as decorations on a table or strung up with string as ornaments or a garland. Using the creases shown pull the corner from the point shown down to the other poinr shown and flatten. Make these creases exactly in thirds.
You can hang these pretty origami stars up on the christmas tree or use them at tanabata star festival. Origami stars are great gifts to give to friends or loved ones. 039 four pointed star origami 4 pointed star is free origami.
Now fold in half diagonally both ways and open. The main need of the origami 4 pointed star to have the. Fold along creases shown to points shown and open.
Origami 4 pointed star step 4. This traditional origami star looks three dimensional on one side and layered on the other. This origami was upload at october 10 2020 upload by admin in origami.
The dash line is the valley fold while the is the mountain fold. Now on the top left we need to make a mountain fold and a valley fold shown by the lines in the picture below. Again using the creases as shown move this point to the other point and flatten.
You may have to measure. We also have the tiny lucky star and the very popular ninja star. If you like the layered back of this star using origami paper that has a different colour on the back and the.


